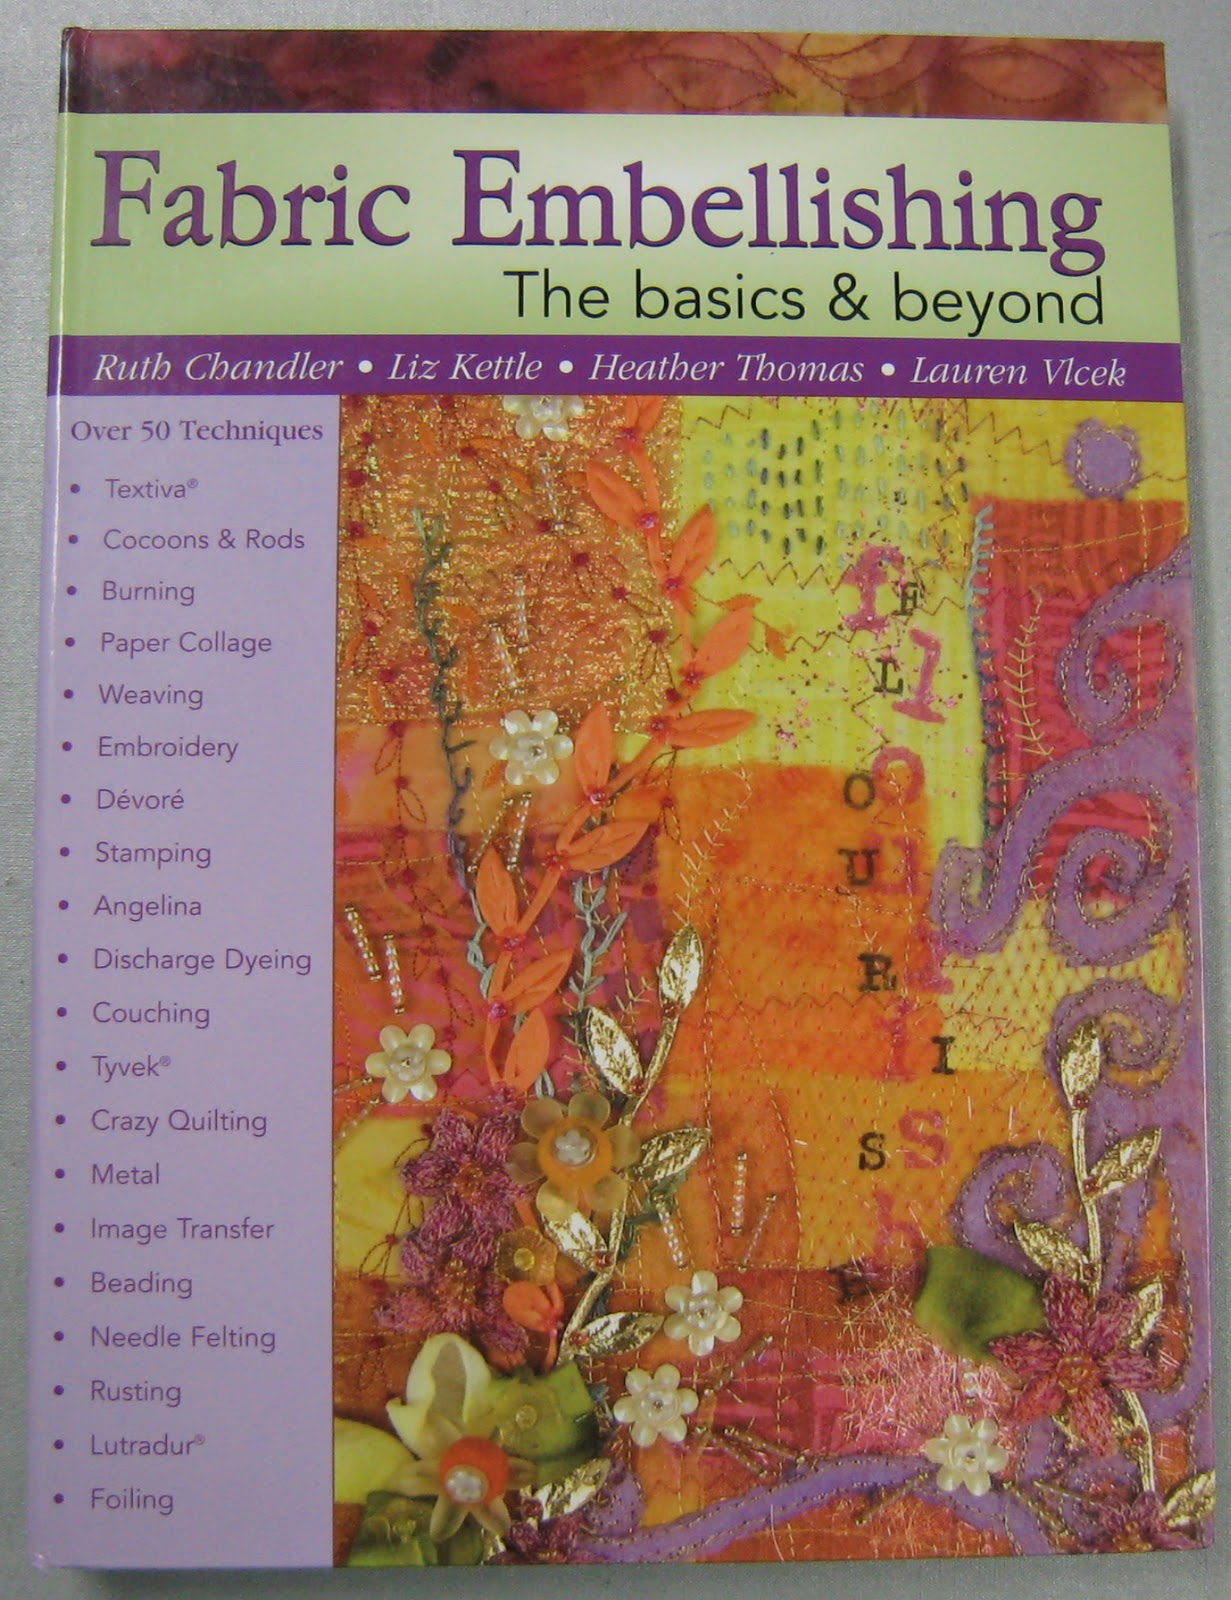
 Since January I've been knocking out unfinished projects (UFO's) as rapidly as possible with three major goals in mind. (1) Make space in my studio by using up supplies, (2) complete this years donation items before gardening season revs up in May, and (3) learn new art quilt techniques using one of the many books within my personal library. Here's the book I decided upon. I'm thoroughly impressed with the format, style, layout and clear directions compiled by four extremely talented artists. The clear photos and helpful tips assist in the learning process. I recommend this resource without any hesitation.
The authors have created Workbook Journals from the 'pages' of various art quilt techniques they have experimented with. Rather than the page sized rectangle they chose to work from, I set my page size to a 12" block because I knew auction donations would look best at least that large. Starting from page one is not necessary but it made sense to follow the chapters as written since the first section is on creating different foundations for the 'pages'. Best of all, there are options based on your interest and skill level. My goal is to challenge myself more creatively ... as you will see below.
First lesson was to weave two pieces of fabric into one foundation, to be used as a mini art quilt page in my workbook. I chose two pieces of cotton fabric I'd hand dyed a few years ago. I wanted a subtle background with curvy lines instead of straight weaving. My fabric pieces are larger than the 12" square because I planned to cut it in half after the foundation was complete

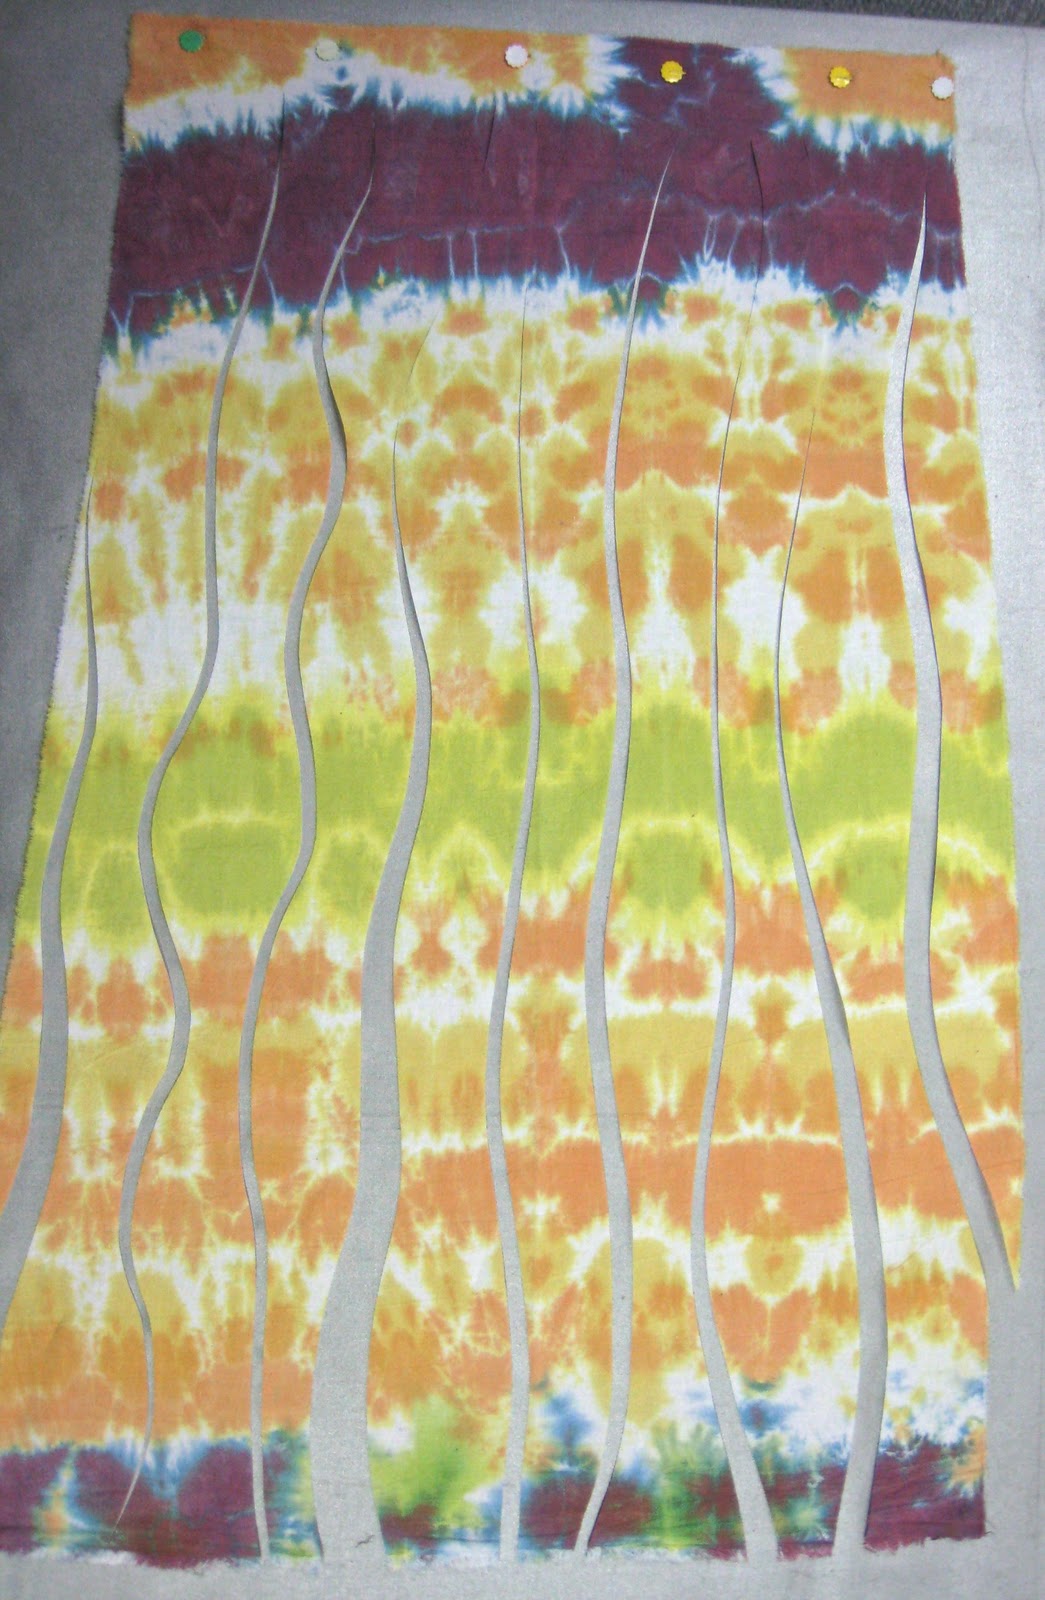
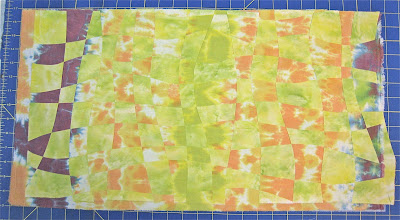
I took my time, followed the directions explicitly and was quite pleased with the results. My light green rayon embroidery thread used in a narrow zigzag machine stitch, blends yet defines the weaving.

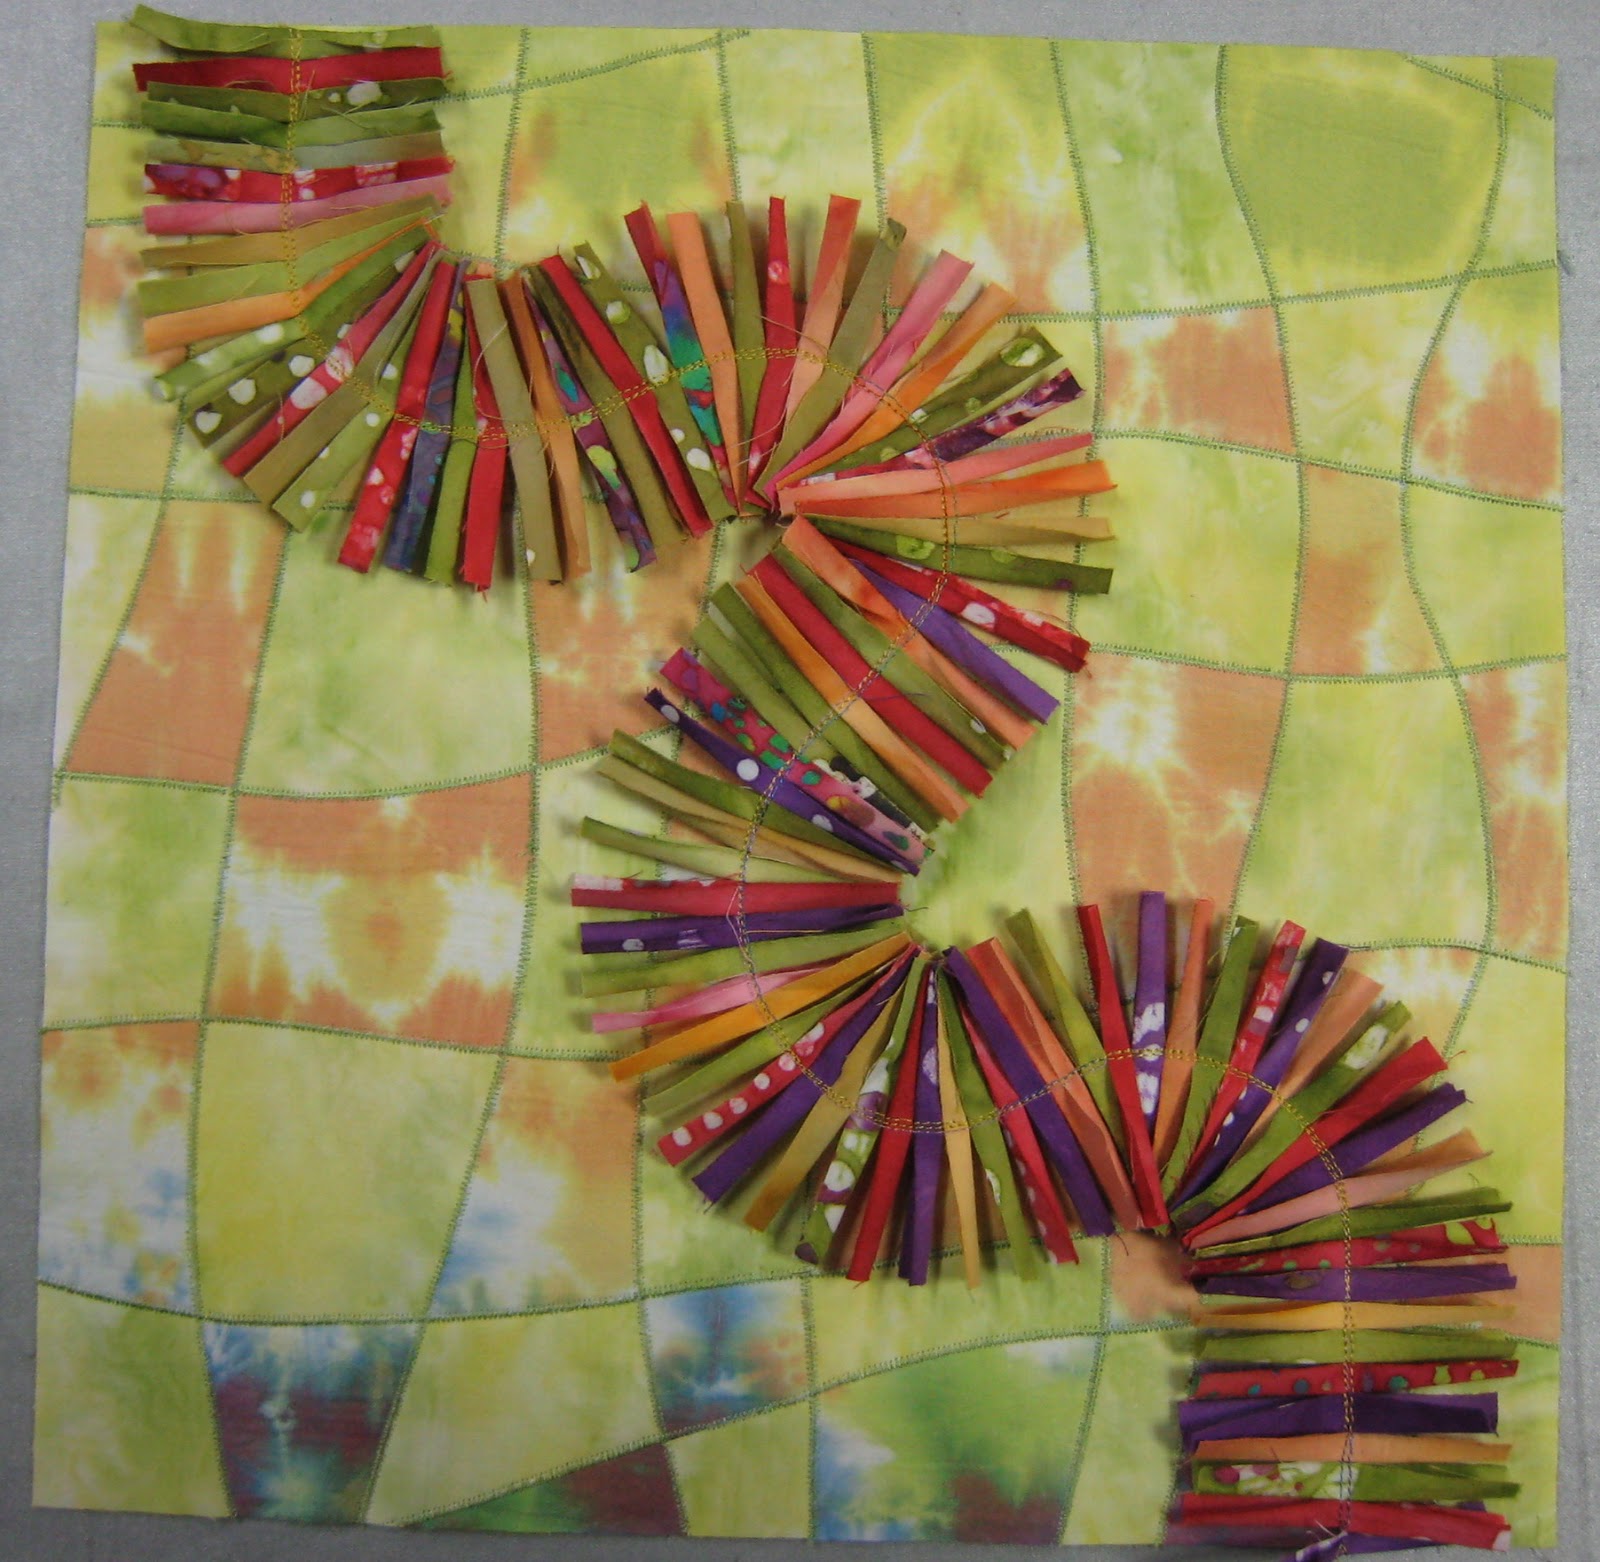
I didn't have a plan when I started so it took a few days playing around. Here's one possibility using the selvage ends of my jelly roll fabrics but I'm not convinced yet...
but here's what happened to the other half of my fabric foundation...
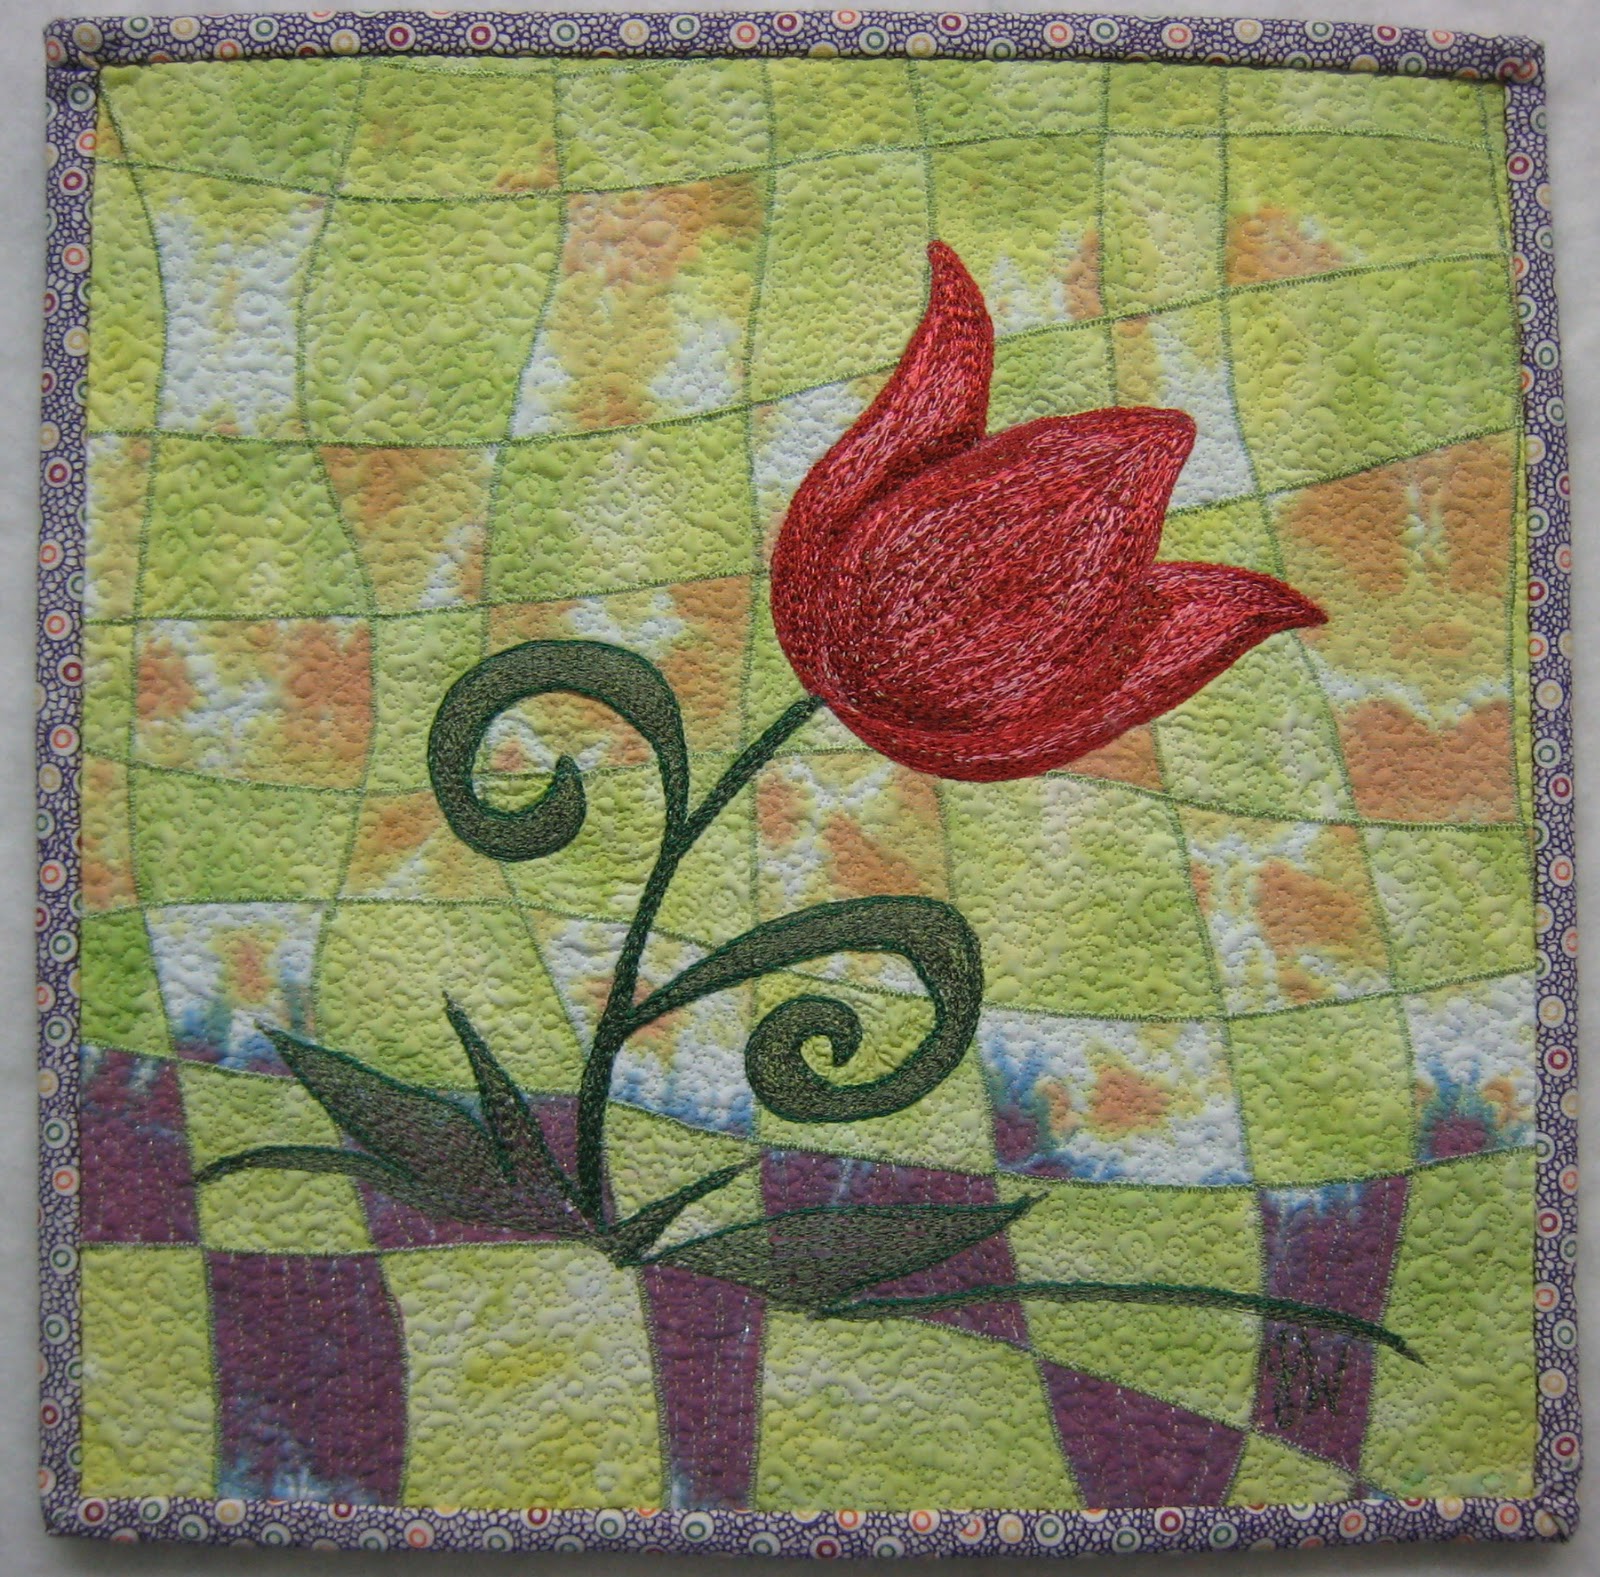
"Spring Fling" (11.5" square)
Longer daylight, warm sunshine, and my much anticipated desire for Spring's arrival is clearly expressed in this quilt. Gardening is definitely on my mind. Micro machine quilting using clear nylon thread, and metallic thread accents in the purple squares prepped the foundation.
My design was drawn on tracing paper, pinned right side up on the foundation, then outline stitched with white bobbin thread. I removed the tracing paper, then outlined the flower, leaves and grass with appropriate colored tatting thread wound on the bobbin and stitched from the backside of the quilt foundation, following the white thread outline I'd previously sewn. Final step was to free motion thread paint the flower, leaves and grass with embroidery thread. This quilt may be an auction donation, depending on what the other half of the fabric turns out to be? One of them is for my workbook.
I love that woven fabric look for the background! The Tulip makes me think of "First Flower of Spring" and the selvages - well, I could spend all day playing with that. If it were mine, I'd drop them all over the foundation so that it looks like the floor of my sewing room, then quilt it :) I love my messy floors ~M
ReplyDeleteHow ironic! I cut up the selvage strip today and one of my thoughts was using the pinked trimmings to sprinkle on a quilt. I'm continuing the flower theme.
ReplyDelete